
We have this cabinet that my mom bought us from Ikea that fit perfectly at the end of the hall at our old house

We used it to store our linens and was a great storage place for band aids and other medical related things we didn't want to store in the bathroom.
Now it lives in our dining room.

We use it to store our wine glasses and some mugs. I really like the cabinet, but in it's new spot it was feeling a little dull. To spruce it up a bit I decided to paint the back of it.
Now if you've ever dealt with the backings on these things, you'll know it is a weird beast. The shininess of the back was the thing that made this project miserable. I decided to try and stencil the back.

But, even with the primer/paint combo, the paint did NOT want to stick

I tried to make it work and after about 5 coats I had a solid base. I then tried to stencil over it and it looked pretty decent. Then I took the painters tape off and guess what came with it? That's right, the paint.
At this point I was pretty frustrated and didn't touch it for about 3 weeks. Finally, the weekend before our Thanksgiving party, I decided it had to get done. We ripped off the old backing and went to Lowe's and got a piece of plywood cut to the size of the back. Then I primed it, and painted it with a simple geometric pattern I made out of painter's tape.

I'm much happier with these results (and Nate's happy it isn't pink).
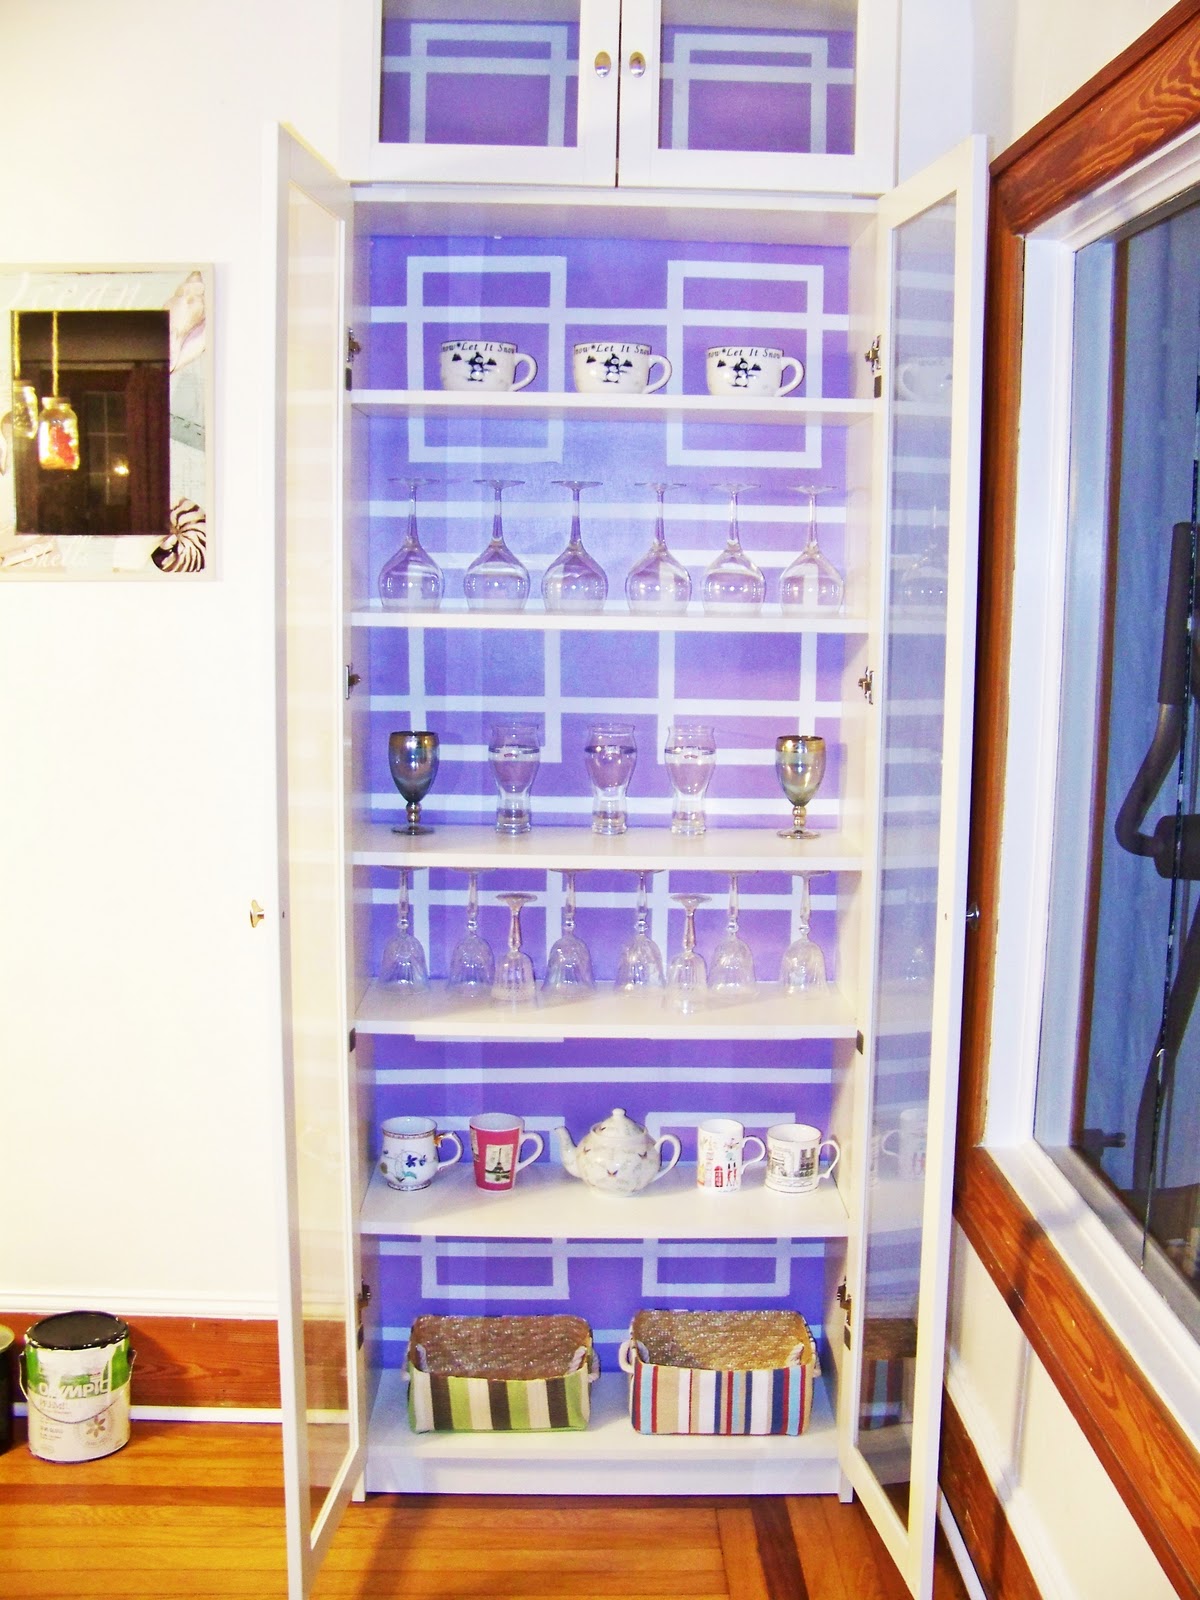
It gives the cabinet just a little bit of pop. Plus it goes really well with the newly painted dining room table (Stay tuned for the results!).

No comments:
Post a Comment