

The walls had been patched and the hardy board was up. Everything was ready to go for the fun part: Tile! We wanted to keep a classic feel to the bathroom since the house is so old and we wanted it to fit in (and make it feel like the bathroom had been there forever). We went through the pros and cons of a lot of different options including
 |
The next three got nixed because we thought they would look a little too busy on our wall and we wanted something a little more clean looking.

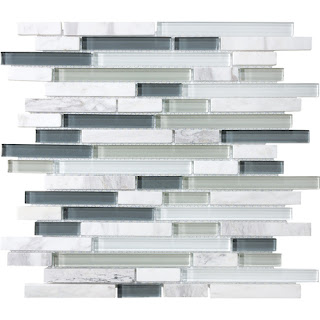

In the end we landed on a whit/grey marble subway tile. The tile was definitely the splurge of the budget at just under $11 for 0.83 square feet of coverage, but since we were saving in a lot of other places we felt it was worth it to get a look we really wanted.

Here I am putting up the last row of tiles and the chair rail piece. It was great that these subway tiles came in sheets because I could just spread the thin set, groove it out, push the sheet on and I only had to use a few spacers to make sure the sheets where separated the correct amount. Then it was just waiting a day to grout!
To make our lives easier, we planned on renting a tile saw but we ended up buying one since Home Depot rents there tile saws for $57 a day and sells them for $88. If this doesn't make since to you, you will know how we felt when we found this out. We thought there must be something terribly wrong with the $88 saw so we did some research and it got great reviews. Since we knew we had more tiling in our future, we figured it made a lot more sense to buy one now to use for the rest of our projects. Bonus: It works great and made this project super easy. While I was putting up tiles, Nate was able to make all the necessary cuts. It was so much easier then when we tiled the bathroom in our old house and used a manual tile cutter... and a lot cheaper since we didn't break countless tiles like last time.
 |
| Our Old Bathroom |
Below is the finished half wall of tile. We were so excited when this was done since this is the big feature of the room and it turned out great.


Once the tile job was done, I moved on to the rest of the walls. All the walls in the rest of our house are textured with what is called orange peel and since we had patched a lot of areas, I wanted to put a new layer up so you can't distinguish the patched areas from the unpatched areas. To do this I used

Here is the result of the orange peeled walls pre-paint. Right now the walls look very flat because whatever the texture is made out of but I guarantee it looks better with some paint.


At this point we are ready for some paint, grout and to replace the fixtures!
No comments:
Post a Comment